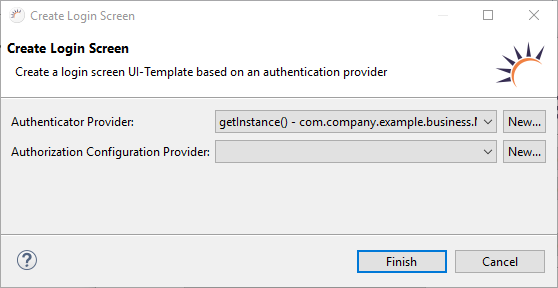
Select Authentication Provider in the following dialog box and click Next .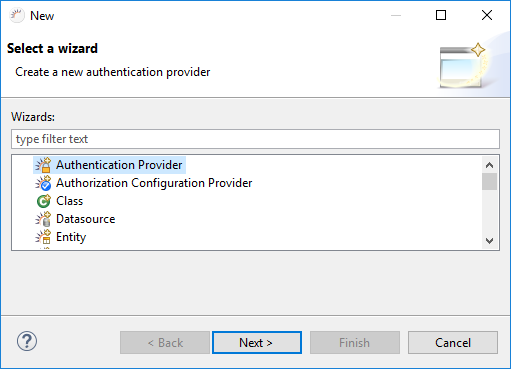
Select Authentication Provider in the following dialog box and click Next .
The standard navigator must be replaced with the authentication navigator.
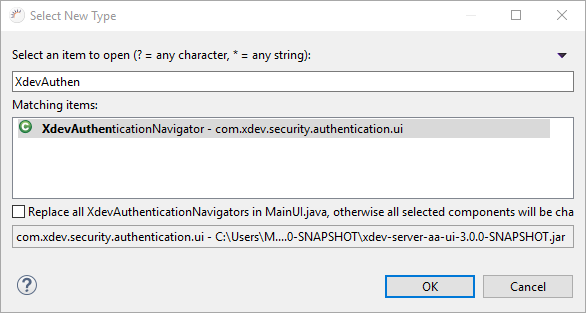
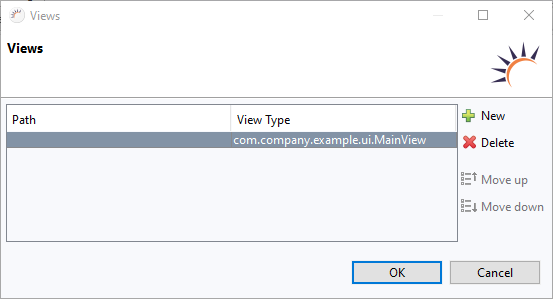
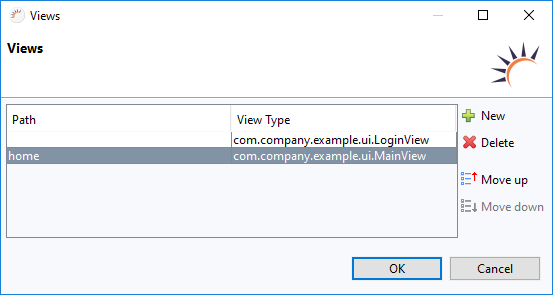
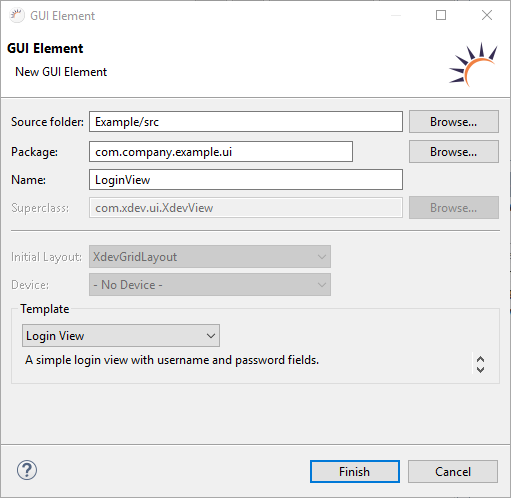
 Create new GUI element in Project Management > User Interface.
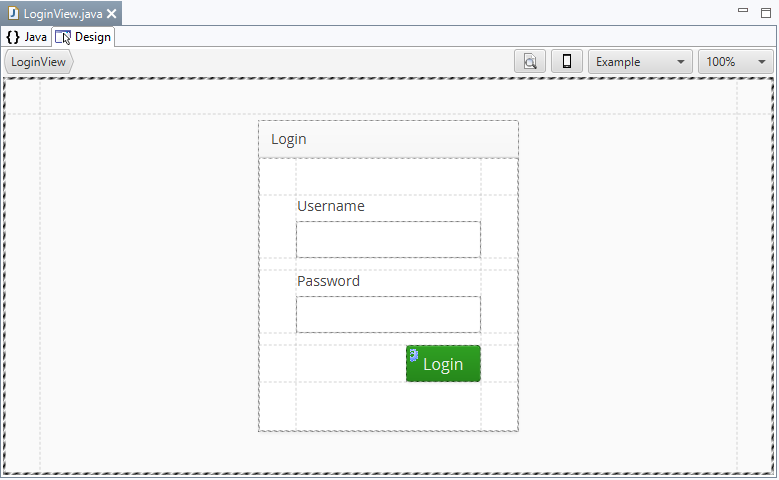
Java code - The entire Java code is generated automatically.
package com.company.example.ui;

import com.company.example.business.MyAuthenticationProvider;
import com.vaadin.event.ShortcutAction;
import com.vaadin.ui.Alignment;
import com.vaadin.ui.Button;
import com.vaadin.ui.CustomComponent;
import com.vaadin.ui.Notification;
import com.xdev.security.authentication.AuthenticationFailedException;
import com.xdev.security.authentication.CredentialsUsernamePassword;
import com.xdev.security.authentication.ui.Authentication;
import com.xdev.security.authorization.Subject;
import com.xdev.ui.XdevButton;
import com.xdev.ui.XdevGridLayout;
import com.xdev.ui.XdevPanel;
import com.xdev.ui.XdevPasswordField;
import com.xdev.ui.XdevTextField;
import com.xdev.ui.XdevView;

public class LoginView extends XdevView implements com.xdev.security.authentication.ui.LoginView {

	/**
	 *
	 */
	public LoginView() {
		super();
		this.initUI();
	}

	@Override
	public String getPassword() {
		return txtPassword.getValue();
	}

	@Override
	public String getUsername() {
		return txtUsername.getValue();
	}

	/**
	 * Event handler delegate method for the {@link XdevButton}
	 * {@link #cmdLogin}.
	 *
	 * @see Button.ClickListener#buttonClick(Button.ClickEvent)
	 * @eventHandlerDelegate
	 */
	private void cmdLogin_buttonClick(Button.ClickEvent event) {
		try {
			CredentialsUsernamePassword credentials = CredentialsUsernamePassword.New(getUsername(), getPassword());
			MyAuthenticationProvider authenticatorProvider = MyAuthenticationProvider.getInstance();
			Object authenticationResult = authenticatorProvider.provideAuthenticator().authenticate(credentials);
			Authentication.login(new Subject.Implementation(credentials.username()), authenticationResult);
		} catch (AuthenticationFailedException e) {
			Notification.show("Invalid username/password");
		}
	}

	/*
	 * WARNING: Do NOT edit!<br>The content of this method is always regenerated
	 * by the UI designer.
	 */
	// <generated-code name="initUI">
	private void initUI() {
		this.gridLayout = new XdevGridLayout();
		this.panel = new XdevPanel();
		this.gridLayout2 = new XdevGridLayout();
		this.txtUsername = new XdevTextField();
		this.txtPassword = new XdevPasswordField();
		this.cmdLogin = new XdevButton();

		this.panel.setCaption("Login");
		this.panel.setTabIndex(0);
		this.txtUsername.setCaption("Username");
		this.txtPassword.setCaption("Password");
		this.cmdLogin.setCaption("Login");
		this.cmdLogin.setStyleName("friendly");
		this.cmdLogin.setClickShortcut(ShortcutAction.KeyCode.ENTER);

		this.gridLayout2.setColumns(1);
		this.gridLayout2.setRows(4);
		this.txtUsername.setSizeUndefined();
		this.gridLayout2.addComponent(this.txtUsername, 0, 0);
		this.txtPassword.setSizeUndefined();
		this.gridLayout2.addComponent(this.txtPassword, 0, 1);
		this.cmdLogin.setSizeUndefined();
		this.gridLayout2.addComponent(this.cmdLogin, 0, 2);
		this.gridLayout2.setComponentAlignment(this.cmdLogin, Alignment.MIDDLE_RIGHT);
		this.gridLayout2.setColumnExpandRatio(0, 10.0F);
		CustomComponent gridLayout2_vSpacer = new CustomComponent();
		gridLayout2_vSpacer.setSizeFull();
		this.gridLayout2.addComponent(gridLayout2_vSpacer, 0, 3, 0, 3);
		this.gridLayout2.setRowExpandRatio(3, 1.0F);
		this.gridLayout2.setSizeFull();
		this.panel.setContent(this.gridLayout2);
		this.gridLayout.setColumns(1);
		this.gridLayout.setRows(1);
		this.panel.setSizeUndefined();
		this.gridLayout.addComponent(this.panel, 0, 0);
		this.gridLayout.setComponentAlignment(this.panel, Alignment.MIDDLE_CENTER);
		this.gridLayout.setColumnExpandRatio(0, 10.0F);
		this.gridLayout.setRowExpandRatio(0, 10.0F);
		this.gridLayout.setSizeFull();
		this.setContent(this.gridLayout);
		this.setSizeFull();

		cmdLogin.addClickListener(event -> this.cmdLogin_buttonClick(event));
	} // </generated-code>

	// <generated-code name="variables">
	private XdevButton cmdLogin;
	private XdevGridLayout gridLayout, gridLayout2;
	private XdevPanel panel;
	private XdevPasswordField txtPassword;
	private XdevTextField txtUsername; // </generated-code>

} |